Getting started
You can develop on your local computer by following the steps below or you can start with a fully prepared online setup using Gitpod and Gitea.
Gitpod
If you want to start development or updating docs as easy as possible, you can use our pre-configured setup for Woodpecker using Gitpod. Gitpod starts a complete development setup in the cloud containing:
- An IDE in the browser or bridged to your local VS-Code or Jetbrains
- A pre-configured Gitea instance as forge
- A pre-configured Woodpecker server
- A single pre-configured Woodpecker agent node
- Our docs preview server
Start Woodpecker in Gitpod by clicking on the following badge. You can log in with woodpecker and password.

Preparation for local development
Install Go
Install Golang as described by this guide.
Install make
GNU Make is a tool which controls the generation of executables and other non-source files of a program from the program's source files (https://www.gnu.org/software/make/).
Install make on:
Install Node.js & pnpm
Install Node.js if you want to build Woodpecker's UI or documentation.
For dependency installation (node_modules) of UI and documentation of Woodpecker the package manager pnpm is used.
This guide describes the installation of pnpm.
Install pre-commit (optional)
Woodpecker uses pre-commit to allow you to easily autofix your code.
To apply it during local development, take a look at pre-commits documentation.
Create a .env file with your development configuration
Similar to the environment variables you can set for your production setup of Woodpecker, you can create a .env file in the root of the Woodpecker project and add any needed config to it.
A common config for debugging would look like this:
WOODPECKER_OPEN=true
WOODPECKER_ADMIN=your-username

WOODPECKER_HOST=http://localhost:8000

# github (sample for a forge config - see /docs/administration/forge/overview for other forges)
WOODPECKER_GITHUB=true
WOODPECKER_GITHUB_CLIENT=<redacted>
WOODPECKER_GITHUB_SECRET=<redacted>

# agent
WOODPECKER_SERVER=localhost:9000
WOODPECKER_AGENT_SECRET=a-long-and-secure-password-used-for-the-local-development-system
WOODPECKER_MAX_WORKFLOWS=1

# enable if you want to develop the UI
# WOODPECKER_DEV_WWW_PROXY=http://localhost:8010

# if you want to test webhooks with an online forge like GitHub this address needs to be set and accessible from public server
WOODPECKER_EXPERT_WEBHOOK_HOST=http://your-address.com

# disable health-checks while debugging (normally not needed while developing)
WOODPECKER_HEALTHCHECK=false

# WOODPECKER_LOG_LEVEL=debug
# WOODPECKER_LOG_LEVEL=trace
Setup OAuth
Create an OAuth app for your forge as described in the forges documentation.
Developing with VS Code
You can use different methods for debugging the Woodpecker applications. One of the currently recommended ways to debug and test the Woodpecker application is using VS-Code or VS-Codium (Open-Source binaries of VS-Code) as most maintainers are using it and Woodpecker already includes the needed debug configurations for it.
To launch all needed services for local development, you can use "Woodpecker CI" debugging configuration that will launch UI, server and agent in debugging mode. Then open http://localhost:8000 to access it.
As a starting guide for programming Go with VS Code, you can use this video guide:

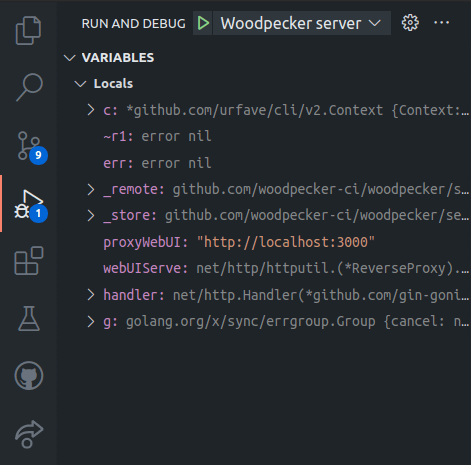
Debugging Woodpecker
The Woodpecker source code already includes launch configurations for the Woodpecker server and agent. To start debugging you can click on the debug icon in the navigation bar of VS-Code (ctrl-shift-d). On that page you will see the existing launch jobs at the top. Simply select the agent or server and click on the play button. You can set breakpoints in the source files to stop at specific points.
Testing & linting code
To test or lint parts of Woodpecker, you can run one of the following commands:
# test server code
make test-server

# test agent code
make test-agent

# test cli code
make test-cli

# test datastore / database related code like migrations of the server
make test-server-datastore

# lint go code
make lint

# lint UI code
make lint-frontend

# test UI code
make test-frontend
If you want to test a specific Go file, you can also use:
go test -race -timeout 30s go.woodpecker-ci.org/woodpecker/v3/<path-to-the-package-or-file-to-test>
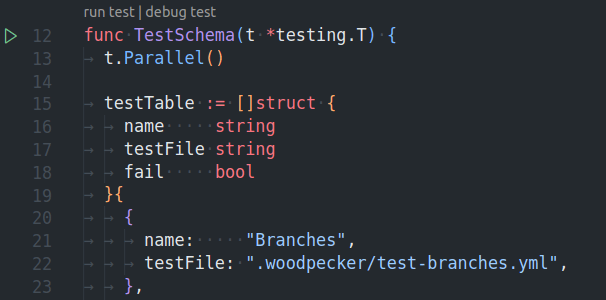
Or you can open the test-file inside VS-Code and run or debug the test by clicking on the inline commands:
Run applications from terminal
If you want to run a Woodpecker applications from your terminal, you can use one of the following commands from the base of the Woodpecker project. They will execute Woodpecker in a similar way as described in debugging Woodpecker without the ability to really debug it in your editor.
go run ./cmd/server
go run ./cmd/agent
go run ./cmd/cli [command]